


Hooligan Scale Models
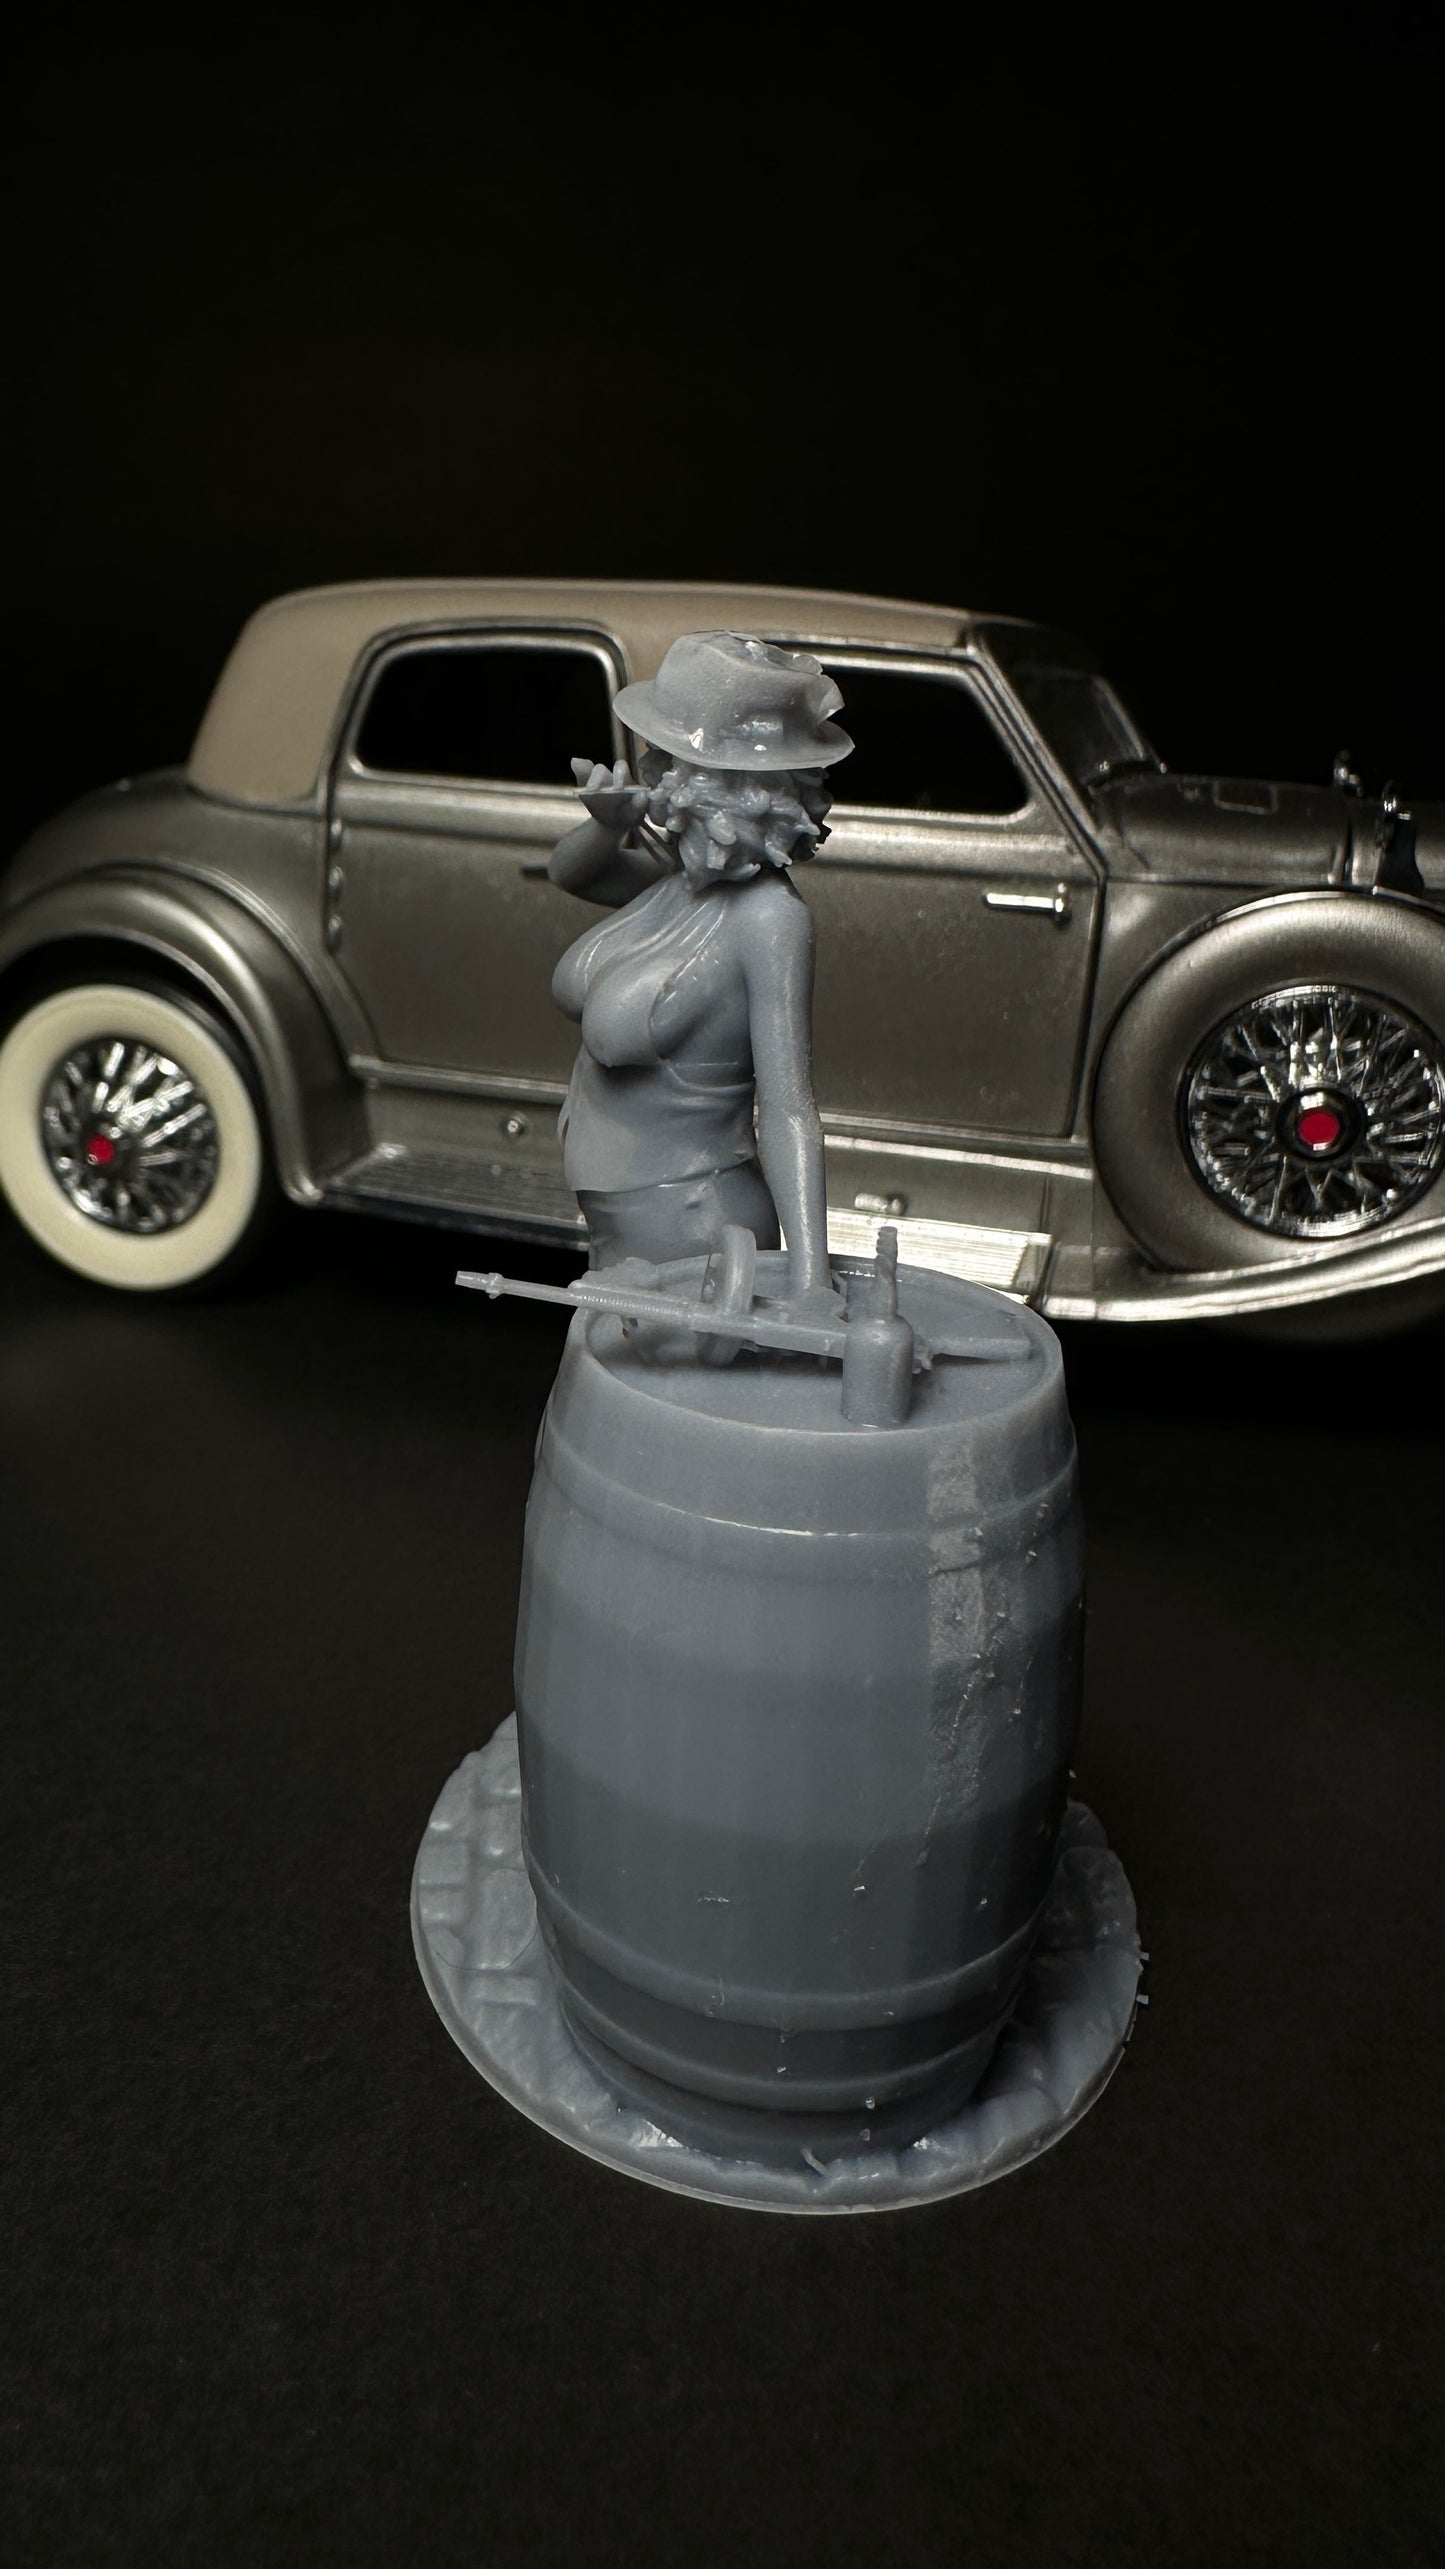
Whiskey, barrel, gangster, girl
Whiskey, barrel, gangster, girl
Couldn't load pickup availability
3-D printed all in one piece, does not include the ca
Resin 3D Printed Model Car Parts
Preparation, Support Removal & Installation Guide
All parts are professionally resin 3D printed and fully UV cured prior to shipping. Some items may arrive attached to support structures to protect fine detail during transit.
Please review the instructions below before removing supports, painting, or installation.
Removing Supports (If Present)
Some parts may still be attached to printing supports for protection.
Recommended Tools:
-
Flush cutters / sprue cutters
-
Hobby knife (X-Acto style)
-
Fine sanding sticks (400–1000 grit)
-
Safety glasses
Instructions:
• Work slowly — resin is rigid and can snap if stressed
• Always cut supports — do NOT twist parts off
• Hold the part securely while snipping supports
• Remove remaining nubs carefully with a hobby knife
• Lightly sand contact points smooth
For best finish quality, final sand with 800–1000 grit before priming.
Cleaning Before Paint
Even fully cured resin should be cleaned before painting.
-
Wash in warm (not hot) water with mild dish soap
-
Gently scrub with a soft toothbrush
-
Rinse thoroughly
-
Allow to fully air dry before priming
Do NOT use acetone or harsh solvents.
Prepping for Paint
For best paint adhesion:
• Lightly scuff surface with 800–1000 grit sandpaper
• Apply a thin coat of quality primer
Recommended primers:
-
Tamiya Fine Surface Primer
-
Mr. Surfacer
-
Automotive filler primer (larger scale parts)
Resin accepts:
-
Acrylic paints
-
Enamel paints
-
Lacquer paints (test first)
Apply multiple light coats to preserve fine detail.
Recommended Adhesives
These parts are resin — standard plastic model cement will NOT work.
Use:
-
CA glue (cyanoacrylate / super glue) — thin or medium
-
2-part epoxy (for larger or heavier parts)
Tips:
• Lightly scuff glue contact areas for stronger bond
• Use minimal glue to avoid detail loss
• Accelerator may be used sparingly
Important Information & Warnings
-
Resin is rigid and may be brittle in thin areas
-
Do not bend parts
-
Avoid excessive heat (may cause warping)
-
Sanding resin produces dust — wear a mask when sanding heavily
-
Not intended for children under 14
-
Small parts may present a choking hazard
Warping Fix (If Needed)
If minor warping occurs during shipping:
-
Dip part in hot (not boiling) water for 5–10 seconds
-
Gently adjust shape
-
Hold in position while cooling
If you have any issues, please contact us before leaving feedback — we’re happy to help.
Share


Prepping and Paint
Prep and Paint instruction
removing supports
Removing Supports (If Present)
Some parts may still be attached to printing supports for protection.
Recommended Tools:
- Flush cutters / sprue cutters
- Hobby knife (X-Acto style)
- Fine sanding sticks (400–1000 grit)
- Safety glasses
Instructions:
• Work slowly — resin is rigid and can snap if stressed
• Always cut supports — do NOT twist parts off
• Hold the part securely while snipping supports
• Remove remaining nubs carefully with a hobby knife
• Lightly sand contact points smooth
For best finish quality, final sand with 800–1000 grit before priming.
Cleaning and Prep
Even fully cured resin should be cleaned before painting.
- Wash in warm (not hot) water with mild dish soap
- Gently scrub with a soft toothbrush
- Rinse thoroughly
- Allow to fully air dry before priming
Do NOT use acetone or harsh solvents.
Painting Guide
For best paint adhesion:
• Lightly scuff surface with 800–1000 grit sandpaper
• Apply a thin coat of quality primer
Recommended primers:
- Tamiya Fine Surface Primer
- Mr. Surfacer
- Automotive filler primer (larger scale parts)
Resin accepts:
- Acrylic paints
- Enamel paints
- Lacquer paints (test first)
Apply multiple light coats to preserve fine detail.
Adhesives & Instalation
These parts are resin — standard plastic model cement will NOT work.
Use:
- CA glue (cyanoacrylate / super glue) — thin or medium
- 2-part epoxy (for larger or heavier parts)
Tips:
• Lightly scuff glue contact areas for stronger bond
• Use minimal glue to avoid detail loss
• Accelerator may be used sparingly
Warnings
Important Information & Warnings
- Resin is rigid and may be brittle in thin areas
- Do not bend parts
- Avoid excessive heat (may cause warping)
- Sanding resin produces dust — wear a mask when sanding heavily
- Not intended for children under 14
- Small parts may present a choking hazard
Warping Fix
Warping Fix (If Needed)
this is iffy if it works
If minor warping occurs during shipping:
- Dip part in hot (not boiling) water for 5–10 seconds
- Gently adjust shape
- Hold in position while cooling